Lenovo ThinkCentre M75q Tiny Gen2 Review Part 2: Memory Upgrade and More

【Performance of the Lenovo ThinkCentre M75q Tiny Gen2】
Part OneSSD Replacement|Part Two

The second half covers the customisation you need to do when first setting up the Lenovo ThinkCentre M75q Tiny Gen2 — SSD replacement, memory upgrade, and reviews of various peripherals. I’ll also write about downgrading from Windows 11 to Windows 10, backups, a comparison with the rival machine of similar spec, the HP ProDesk 405 G8 DM, and the potential of this machine as a PC audio hub.
Lenovo ThinkCentre M75q Tiny Gen2 e

Index

Memory Upgrade: Kingston 8GB + Micron 16GB — Total 24GB Dual-Channel Configuration

Lenovo MEMORY SODIMM,8GB,D4,32,Kingston ThinkCentre M75q Tiny Gen2 メモリ交換

The factory-installed 8GB module is the “Lenovo MEMORY SODIMM,8GB,D4,32,Kingston 5M30Z71751” — a Kingston unit. Come to think of it, this may well be the first time I’ve ever gotten my hands on an actual US-made Kingston module. To this I added a 16GB module, bringing the total to 24GB in a mixed-capacity dual-channel configuration. ※Note: dual-channel operation applies only to the first 16GB. For now, this is more than enough to handle the GPU dedicated memory increase to 2GB described later. For the additional module, I went with my usual choice: the Crucial  by Micron D4N3200CM-16GR. It comes with CFD Sales’ lifetime warranty.

Crucial  by Micron D4N3200CM-16GR Lenovo ThinkCentre M75q Tiny Gen2

Kingston and Micron — different brands and different capacities, but both are single-sided four-chip modules, which is why there were no compatibility issues this time either. Looking at the factory 8GB Kingston module through CPU-Z, it turns out the chips inside are Samsung. Also, in previous PCs the “Channel #” field on the left side of the image showed “Dual”, but this time it reads “2×64bit”. This apparently indicates dual-channel operation is working fine — perhaps the display format changed with a newer version of CPU-Z.

CPU-Z デュアルチャンネルメモリ ThinkCentre M75q Tiny Gen2

Memory prices have been on a downward trend recently, so if the same Crucial  by Micron module drops in price any further, I plan to add another and move to 32GB (16GB×2).

Second Memory Upgrade: Micron 16GB + CFD Standard 16GB — Total 32GB Dual-Channel Configuration

2024 Update: About two years have passed since I got this machine, and I’ve now upgraded the memory again, bumping the total up to 32GB. Honestly, 24GB was perfectly fine in practice, but a 16GB CFD Standard module — the “CFD Standard D4N3200CS-16G” — popped up in a flash sale for just over 3,000 yen, and I couldn’t resist clicking buy. That works out to more than 2,000 yen cheaper per stick than the Crucial by Micron.

The official product image for the CFD Standard D4N3200CS-16G shows a double-sided eight-chip layout, and I’d always steered clear of it because pairing that in dual-channel with a four-chip module seemed likely to cause compatibility issues more often than not. But looking at some recent photo reviews, it appears the design has quietly been switched to a four-chip layout at some point. CFD Sales is in fact the official distributor for Micron/Crucial products, and it seemed unlikely that any sensible company would allow compatibility problems to arise between the two main brands they sell in direct competition with each other — so I decided to take the plunge again with two different brands in dual-channel. The result: no compatibility issues whatsoever. The chips have “CFD” printed on them, so these aren’t mystery Chinese modules — they appear to be memory manufactured to order specifically for CFD Sales Japan. Checking the internals via CPU-Z, the chips turn out to be made by SpecTek. SpecTek is a division of Micron, which means the chips inside are Micron-made, just like Crucial — no wonder there’s no compatibility problem, really. The PCB looks different, so the assembly plant is presumably different, but in substance these are essentially the same chips. That said, there are rumours that SpecTek-branded parts are yield rejects, so they may rank below Crucial by Micron in terms of compatibility with other brands, stability, and reliability. In practice, though, the proportion of negative reviews is tiny, and with CFD Sales being a reputable Japanese company (part of the Melco/Buffalo group) with solid warranty support, there doesn’t seem to be any serious problem overall. ※This time, I let the price win over reliability.

CFD Standard DDR4-3200 ノート用メモリ 1枚組 16GBD4N3200CS-16G

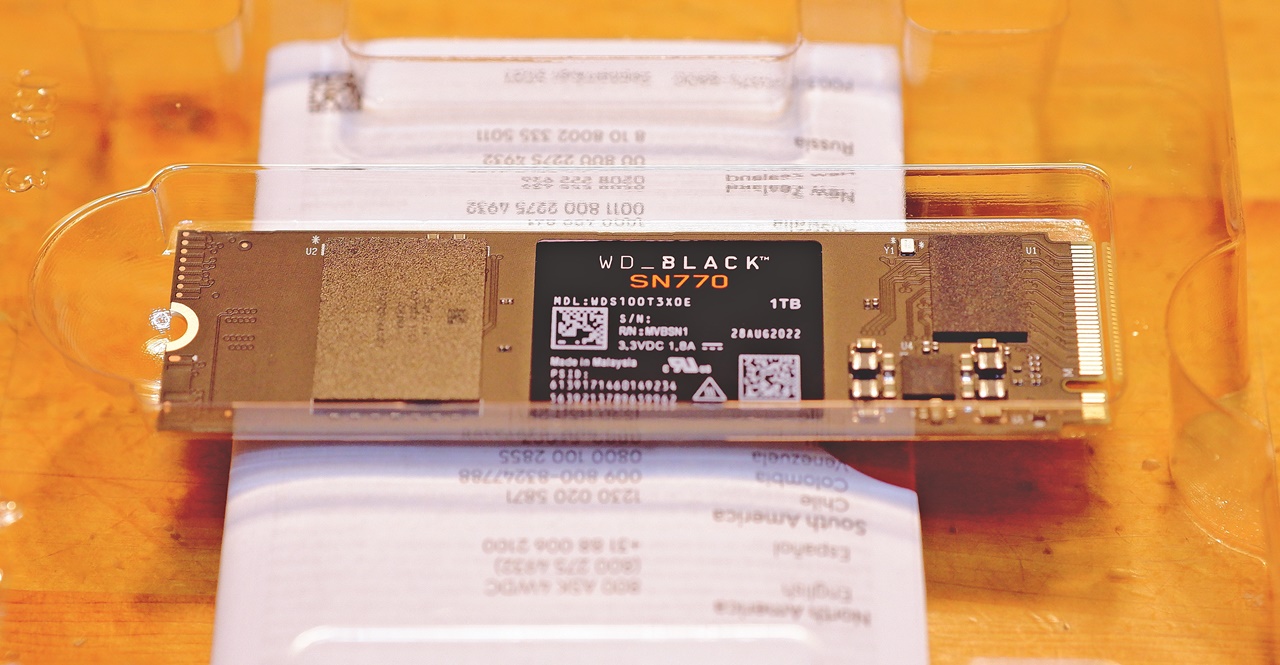
Internal NVMe M.2 SSD 256GB Replaced Immediately → Swapped for WD_BLACK SN770

The details of the SSD replacement are covered on this page.

Dedicated GPU Memory Can Be Increased from 512MB to 2GB (2048MB) via BIOS

This is a significant advantage over the rival machine of similar spec, the HP ProDesk 405 G8 DM — on the Lenovo ThinkCentre M75q Tiny Gen2, the GPU memory, which defaults to just 512MB, can be raised all the way to 2GB (2048MB) from the BIOS.

ThinkCentre M75q Tiny Gen2 BIOS Video Setup GPUメモリ

The AMD Ryzen 5 PRO 5650GE comes with the Radeon Vega 7 — a capable integrated GPU — while the Ryzen 7 PRO 5750GE features the Radeon Vega 8. To get the most out of this GPU, you’d want to increase the physical RAM installed and set the GPU memory ceiling to 2.0GB, but apparently the rival HP ProDesk 405 G8 DM doesn’t allow you to change the 512MB limit. This means that even though both machines carry the same Ryzen 5 PRO 5650GE/Radeon Vega 7, the Lenovo ThinkCentre M75q Tiny Gen2 effectively comes out ahead in GPU performance.

AMD Raedon Graphics 専用GPUメモリ
Default 512MB|After change 2.0GB|Monitor side also recognises dedicated video memory as 2048MB

Now that I think about it, at some point while fiddling around with various settings, the AMD Radeon Graphics driver had quietly been overwritten from the latest version at the time (v30.0.~, dated 2022/2/16) back to an older one (v27.20.~, dated 2021/06/28). I have no conscious memory of touching the graphics driver, which is a mystery — though I did roll back the OS once using Acronis True Image WD, so perhaps that was when it happened. At that point, the dedicated GPU memory had reverted to 512MB, and despite having 2048MB set in the BIOS, booting up showed it was still stuck at 512MB. I overwrote the AMD Radeon Graphics driver with the latest version and redid the BIOS setting (saved with F10), after which I was able to bring the dedicated GPU memory allocation back up to 2.0GB. What on earth was all that about…?

Addendum: How to Fix the Dedicated GPU Memory Reverting to 512MB

About a month after the issue described above. While browsing a particularly heavy website with a YouTube video playing in another window, the connection suddenly started spinning endlessly for no obvious reason. I opened Task Manager on a whim, and sure enough, the dedicated GPU memory had once again silently reverted from 2.0GB back to 512MB. Since I hadn’t touched anything, it seems like a recent Windows Update or an automatic update to AMD Radeon Graphics had reset it on its own, presumably due to some bug. ※For reference, 512MB of GPU memory is easily exceeded the moment you add even a single YouTube window.

Lenovo ThinkCentre M75q Tiny Gen2 GPU タスクマネージャー デバイスマネージャー

My first thought was to try rolling back AMD Radeon Graphics to a previous version, but looking at the AMD Radeon(TM) Graphics adapter in Device Manager → Properties, the “Roll Back Driver” option was greyed out. Left with no obvious choice, I went to the AMD official download page, specified the “Ryzen 5 PRO 5650GE” under integrated GPU CPUs, and tried installing the dedicated software “Software Adrenalin Edition” — but there was no option in the settings to roll the graphics driver back to an older version, and it seemed like there was simply no official way to do it. I tried overwriting with the latest version anyway, but nothing changed.

AMD Software Adrenaline Edition

So I went into the BIOS (UEFI firmware settings) and checked the PC’s state — oddly enough, it still showed 2048MB there. Rebooting from that point, all the display-related items in Windows and in Software Adrenalin Edition were unambiguously running at 512MB. Hmm…? So I thought about it a bit. I went back into the BIOS, changed “Video Setup” from 2048MB to “Auto”, rebooted and confirmed it was still showing 512MB, then rebooted once more, went back into the BIOS, set “Video Setup” back to 2048MB, and restarted with F10 to save. After doing this, the GPU memory was successfully restored to 2.0GB with the latest graphics driver.

ThinkCentre M75q Tiny Gen2 GPU設定 2048MB 2GB

In short: temporarily revert the BIOS setting to AUTO, reboot, then set it back to 2048MB, and the GPU memory will work at 2GB again. After this, when I checked the AMD Radeon(TM) Graphics adapter in Device Manager → Properties to confirm things were working, the “Roll Back Driver” option that had been greyed out earlier had also come back. What on earth is going on. Whether this is a BIOS-side issue with the ThinkCentre M75q Tiny Gen2, or a software bug in AMD Radeon Graphics, it seems like the GPU memory can revert to 512MB at certain moments — so if this happens in your setup as well, you should be able to restore it to 2GB using this method. It feels very much like it tends to happen around the time of an update, so it’s probably worth checking in Task Manager every now and then to make sure the GPU memory allocation hasn’t gone off.

How to Enter the BIOS Screen

For getting into the BIOS on the Lenovo ThinkCentre M75q Tiny Gen2 — in my setup, the SSD is fast enough that repeatedly hammering F1 on the boot screen will more often than not fail to get you into the BIOS. In that case: Settings → Update & Security → Recovery in Windows, or search Settings for “Recovery options” or “BIOS” → Change advanced startup options / Customise PC startup → Restart now.

UEFIファームウェアの設定BIOS

From the blue “Choose an option” screen: Troubleshoot → Advanced options → UEFI Firmware Settings → Restart. That will get you into the English BIOS screen. ※This is on Windows 10, so Windows 11 may differ slightly.

Addendum: An easier way to enter the BIOS on the ThinkCentre — “Hold Shift and click Restart“. This also takes you to the Choose an option screen.

Free Downgrade from Windows 11 to Windows 10 Was Possible

This was the first machine I’d ever had with Windows 11, having used Windows 10 up to this point — and after giving it a try, I have to say I genuinely couldn’t work out what Windows 11 was trying to achieve. Bluntly put, after one full day of use, I gave up entirely because the UI was just so bafflingly awful. People will say it’s me who’s the problem, I know — but honestly, isn’t Windows 11 just another one of those landmine releases Microsoft periodically inflicts on the world, alongside Me, Vista, and Windows 8? In fact, a full year after Windows 11 launched, as of October 2022 its adoption rate was apparently still sitting below 3%.

I tried to track the actual figures for the AUDIO STYLE readership via Google Analytics and the Livedoor Blog access stats, but for some reason Windows 11 traffic appears to be lumped in with Windows 10 and isn’t shown separately. On Steam, a gaming-oriented platform where hardware upgrade rates are far higher than average, Windows 11’s adoption rate was around 23% as of November 2022 — but even there it had already plateaued, with about 70% of users still on Windows 10.

I was glumly resigning myself to having to buy an additional Windows 10 licence, but figured I’d give it a go first — I downloaded the Windows 10 installation tool “MediaCreationTool” from Microsoft’s website, used MediaCreationTool to create an installation media on a USB drive, and did a clean install onto a brand-new blank SSD. ※Activation is required during setup, but downloading and installing Windows 10 itself is free.

Because I’d linked it to OneDrive during the initial setup, I was able to skip a lot of the tedious personal settings — but what surprised me was that no additional licence key was required, and Windows 10 was simply activated as-is. In other words, on a PC that originally had a legitimate Windows 11 licence, a clean install of Windows 10 went through without a hitch. And this wasn’t an in-place downgrade — I had physically removed the SSD with the original Windows 11 installation and done a completely clean install of Windows 10 onto a separate, newly prepared WD_BLACK SN770, using a USB drive containing MediaCreationTool. And yet it still worked.

BIOS USBメモリから起動
A bootable USB drive is listed as USB HDD in the BIOS

Perhaps there’s some hardware-level per-unit licence tied to the Lenovo ThinkCentre M75q Tiny Gen2 itself that covers both Windows 10 and Windows 11, or perhaps the Microsoft account and OneDrive personal data I’d already linked through Windows 11 satisfied some set of conditions. Even so, the fact that a completely clean install went through without needing any additional licence — effectively treated as a downgrade — was, honestly, such a relief…

outLenovo Official: Automatic Driver Update

Lenovo System Update: Driver, BIOS, and Application Updates

As for whether a clean-installed Windows 10 OS will run normally on the ThinkCentre M75q Tiny Gen2 — there is no problem at all, since by entering the serial number you can automatically download and install all the dedicated drivers for the Lenovo ThinkCentre M75q Tiny Gen2 in one go from the official Lenovo website. After that, by keeping the Lenovo System Update software running in the background, you can always update to the latest drivers.

Backups Are Taken Seriously — Seven Layers of Backup, in Fact

Continuing from the above: I have been reinstalling the OS every few months to deal with the software-level accumulated troubles that come with a gradually bloating Windows, and every two to three years I also find myself facing a full clean install — whether due to a new purchase or hardware failure. At times like those, having only one or two backup patterns can and does leave you in a situation where none of them actually work when you need them most. From experience, the rule of thumb is: make multiple backups, and make them from separate, independent sources.

1) ThinkCentre M75q Tiny Gen2 factory-installed SSD with Windows 11 pre-installed ※ removed and stored
2) Lenovo USB Recovery Creator for ThinkCentre M75q Tiny Gen2 ※ model-specific OS that replicates ↑
3) “MediaCreationTool” — USB drive for Microsoft Windows 10 clean install
4) Recovery drive on USB drive ※ created under Windows 10
 +
5) Acronis True Image WD Edition ※ periodic manual backup of the OS drive
6) BunBackup — backs up all files on the data drive (nearly every day)
7) A further double backup of (5) & (6) to an external SSD (using BunBackup)

When I actually counted up my backup routines on this occasion, it came to seven layers in total. Two copies of the pre-installed Windows 11. Two options for a Windows 10 clean install. A backup of my customised Windows 10 OS. Backups of various files. And then a double backup of the backups. At a glance it may look excessive, but even with all of this in place, there have been times when only a single backup actually proved usable when trouble struck — and that one route saved me.

Choosing USB Drives for Backup and Recovery

One could simply say “use whatever USB drive you like,” but compatibility issues do exist, and apparently some BUFFALO memory sticks have compatibility problems with the ThinkCentre M75q Tiny — with reports of the USB Recovery Creator failing to be created, or the drive not working as a boot device (not appearing in the BIOS screen).

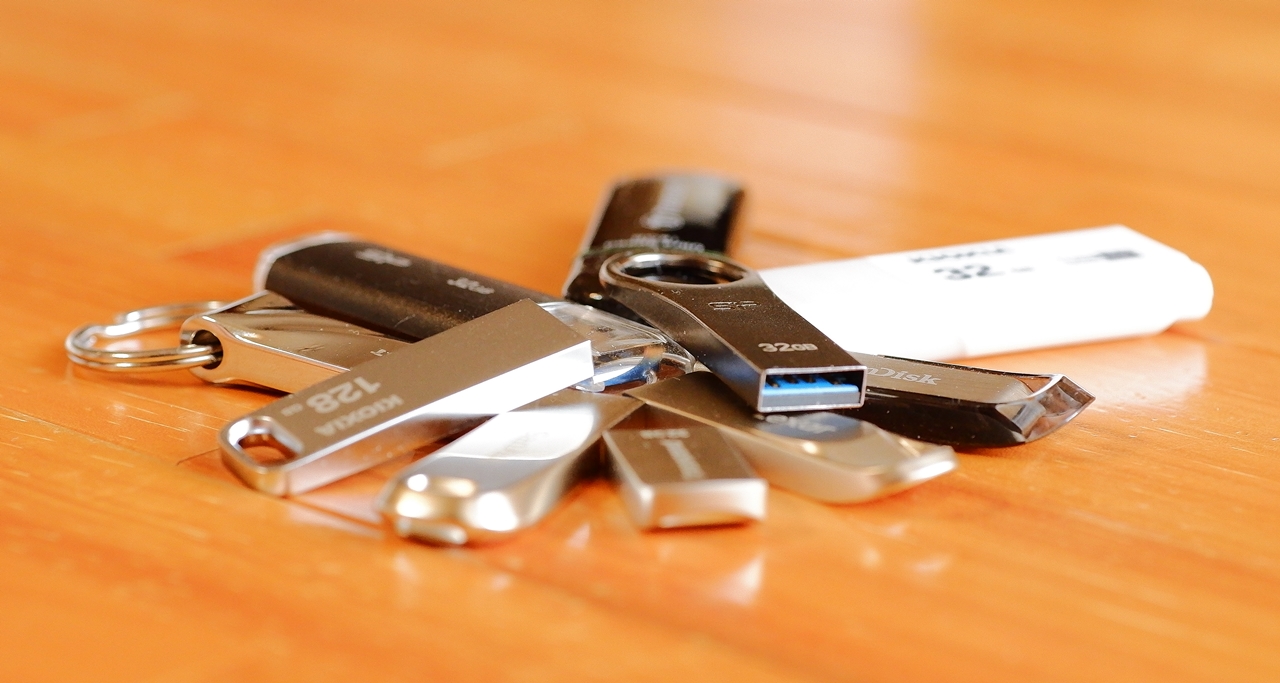
USB drives: Transcend TS32GJF710S and SanDisk SDCZ73-016G-G46

For the backups this time, I chose the Transcend TS32GJF710S for the Lenovo USB Recovery Creator, the SanDisk Ultra Flair USB3.0 SDCZ73-016G-G46 for the Windows 10 recovery drive, and the KIOXIA TransMemory U301 for the MediaCreationTool. With USB drives I generally prioritise design, but since buying multiples of the same model makes them hard to tell apart, I deliberately choose a different product each time. The performance of each is tested on the page below.

The SanDisk Ultra Flair USB3.0 is a reuse of the USB drive originally purchased as the recovery drive for the previous ASUS VivoMini VC65 ← see the article from that time. Apparently, if a Windows 10 recovery drive becomes too outdated, it can fail to work when you actually need it for recovery, so it is advisable to recreate it periodically.

The MediaCreationTool provided by Microsoft for clean-installing Windows 10 is updated to the latest content with each OS update. I do keep the data from the initial installation as well, but when actually using it, I think it is best to download the latest version each time and install it afresh onto a bootable USB drive.

Separately from the clean install, my customised OS drive is backed up manually on a regular basis using the free Acronis True Image WD Edition. I do not use automatic backup, as I do not want anything overwritten. I partition my main SSD into a C: drive for the OS and a D: drive for data, but backing up only the C: drive can occasionally cause restoration to fail, so from time to time I also do a full backup that includes the D: drive. The accumulating size of the backup data is a drawback, but the OS backup created with Acronis True Image WD Edition is personally the one I reach for most often when restoring.

The free BunBackup is used for nearly daily backups of the data drive. It mirrors the entire D: drive to the E: drive, and the E: drive to an external USB SSD, giving a double backup.

With a setup like this, each PC ends up needing several USB drives just for OS backups alone, and it would be rather nice if they came included as standard accessories or optional extras — though I can’t say I’ve ever seen that happen.

A USB 3.0 (USB 3.2 Gen1) Portable SSD Drive Is Permanently Attached

For the external USB drive used for double backups, I have for many years used a 2.5-inch portable HDD. Unlike 3.5-inch drives, these require no external power supply, and it is possible to choose a drive that is virtually silent (in the case of HDDs). From this point on, however, my main drive is an NVMe M.2 SSD, and the 2.5-inch SSD — a Samsung 860 EVO 1TB that had been the main drive in the now-deceased ASUS VivoMini VC65 — was left without a purpose, so I decided to repurpose it for double backup duty. Full details are summarised in the entry below.

This was something of a blind spot, but leaving a slow HDD connected apparently causes the PC to frequently access it even when not needed, so switching the external USB drive to an SSD as well seems to make the overall system noticeably more responsive.

A Small Fix for the ThinkCentre M75q Tiny’s Hard-to-Press Power Button

It is a minor point, but among the things that clearly feel wrong in day-to-day use with the Lenovo ThinkCentre M75q Tiny series — in terms of physical design — are the difficulty of pressing the power button and the wobbliness of the stock stand. The power button sits extremely recessed relative to the front panel surface, which is the root cause, and I dealt with this by sticking a small 3M transparent silicone rubber cushion over it.

3M Firm-Grip Cushion Rubber CS-01

Needless to say, this makes the power button much easier to press, but as an unintended bonus, the transparent hemispherical shape acts as a little lens, making the power LED noticeably brighter and easier to see when it switches on and off.

ThinkCentre M75q Tiny Gen2 Power Switch / Power Button

No SD Card Slot on the Unit Itself → Purchased a USB SD Card Reader

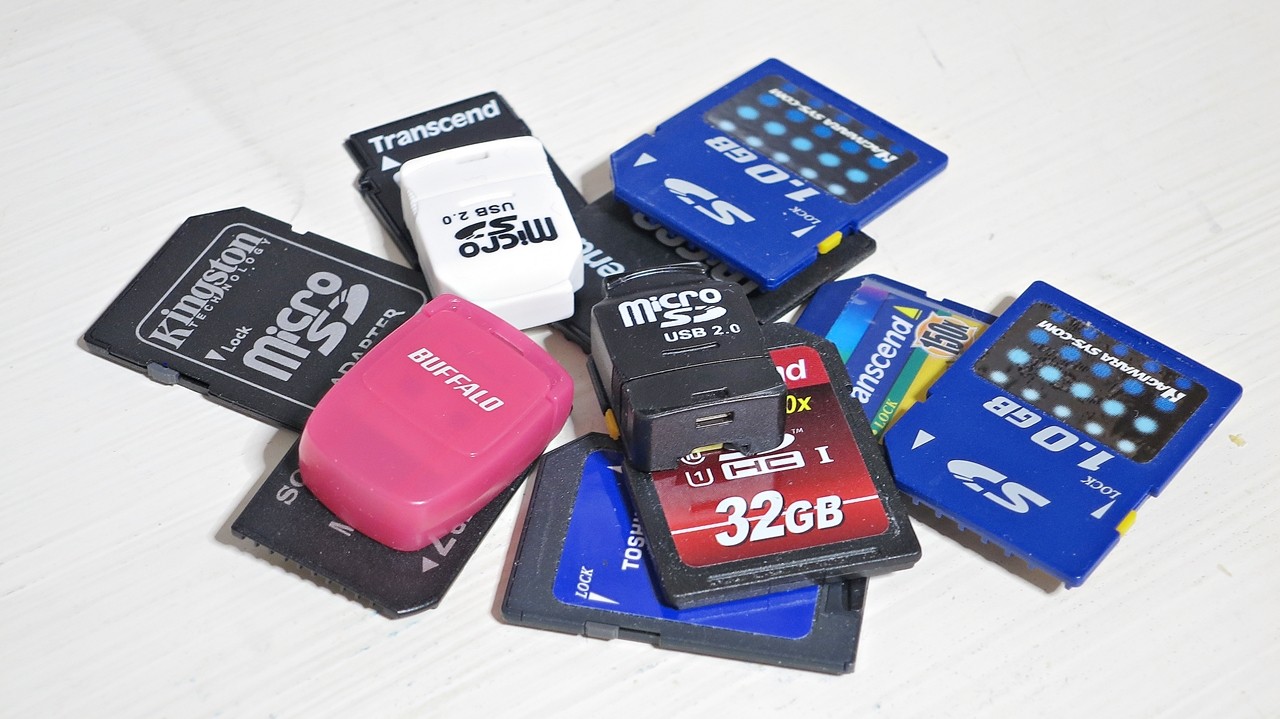
I use SD cards fairly often for transferring images from a digital camera, and my previous ASUS VivoMini VC65 had an SD card slot on the top of the unit, as did the ASUS UL20FT sub-notebook I was using alongside it. However, it was only after the ThinkCentre M75q Tiny Gen2 arrived that I noticed it has no SD card slot at all. In that case, an external USB SD card reader is the answer, but the one I had on hand was from the USB 1.1 era, far too old to handle large-capacity SDXC cards. So I searched among the latest USB 3.1-compatible card readers for something that would fit the bill, and this is what I found.

SD Card Reader — LUONOCAN UHS-I Multi Card Reader, OTG 2-in-1, SD/Micro SD Compatible

There are plenty of similar multi-card readers out there, but when you narrow it down to products that combine USB 3.0, a USB Type-C port, an aluminium body for good heat dissipation, a compact size, and a clean design, the options thin out considerably. The best-selling product on Amazon.co.jp matching these criteria was the “UGREEN SD Card Reader with Type-C OTG Support” from a major Chinese brand, but its rounded shape is not personally to my taste from the standpoint of stability on a desk, so I passed on it.

After all that searching, the product I settled on — not a big seller due to its obscure brand name, but highly rated by reviewers for its read speed and other qualities — was the “LUONOCAN UHS-I Multi Card Reader, OTG 2-in-1, SD/Micro SD Compatible (USB 3.0 and Type-C ports, aluminium casing)“.

Having used it, the speed is genuinely fast — APS-C image files from a digital camera averaging 7–11 MB each transfer in what feels like an instant for a few dozen shots, and even a thousand or more takes only around ten to fifteen seconds by feel. It is considerably faster than the internal SD card reader built into the previous ASUS VivoMini VC65. The aluminium body dissipates heat quickly even during fast transfers, and the friction fit of the front and rear caps is just right — neither too loose nor too tight. Both the Type-C end and the USB end use the same cap with no orientation to worry about, so there is no frustration in attaching or removing them. This too is from a practically unknown Chinese brand — LUONOCAN, sold through Amazon.co.jp — but it turned out to be a good find.

Surprisingly Good Sound Quality — But the Built-In Speaker Is Another Matter

For PC audio, this is always something of a gamble. With off-the-shelf PCs — custom builds aside — whether a machine makes a good source for PC audio, feeding digital data out via USB, is something you simply cannot know until you actually use it. The machines are not designed with sound quality in mind, so whether the result happens to be good or bad is essentially a matter of chance. There is a certain collective wisdom among Hi-Fi enthusiasts about CPUs, memory, storage, power supplies, and so forth, but when you are dealing with a pre-packaged commercial product, if a non-replaceable component within the PC itself turns out to be the bottleneck, there is nothing you can do after the fact.

With that said, I essentially ignored the question of inherent sound quality when choosing the ThinkCentre M75q Tiny Gen2 this time as well — and as it turned out, compared to the previous ASUS VivoMini VC65-G108Z, there is a slight sense of distortion, but the sound is cool and crisp with a tight tendency and little of that vague, mushy quality. With this, there seems to be plenty of room to explore various approaches to improving the sound… The overall character lends itself to clear, intelligible vocals, which should make it a good match for YouTube playback and the like.

The CPU cooler noise is a blemish, but in terms of sound quality, this was a pleasant surprise. That said, for better or worse, this is all relative — based on a limited number of comparisons. It is not high-fidelity by any audiophile standard, and depending on what PC you are coming from, switching to the ThinkCentre M75q Tiny Gen2 could quite plausibly result in worse sound than before, so please bear that in mind.

As for the built-in speaker quality — well, before even getting to sound quality, the volume is unbelievably low. It is presumably a mono speaker, but for some reason it produces a system sound with an oddly out-of-phase, phantom-like quality that is simply unpleasant, so I went into the BIOS and disabled the speaker output entirely.

ThinkCentre M75q Tiny Gen2 Audio Setup — Built-In Speaker

Where the Lenovo ThinkCentre M75q Tiny Gen2 Is Made — China, As It Turns Out

The sticker on the outer box of the ThinkCentre that arrived this time had “Made in China” printed on it in small text. The ThinkCentre M710q Tiny I had previously was, if I recall correctly, made in Yonezawa, but it seems that is no longer the case. That said, the only difference is the final assembly location — the contents themselves are entirely unchanged. Lenovo’s design lineage traces back through IBM Japan and NEC, and more recently Fujitsu, and I personally still regard them as essentially Japanese PCs in all but name.

Regarding the Chinese backdoor issue that became a problem with certain Lenovo PCs back in 2014: the actual story was that malware had been bundled into a third-party application called “Superfish” — something of a case of being caught in the crossfire. Lenovo was certainly greatly at fault for failing to detect the malicious application beforehand, but there have been no further incidents since the issue was addressed. Whenever I still see people bringing this up, I can’t help thinking: how long are we going to keep going back to this?

Differences Between the Lenovo ThinkCentre M75q Tiny Gen2 and Its Rival, the HP ProDesk 405 G8 DM

The ThinkCentre M75q Tiny Gen2 and the HP ProDesk 405 G8 DM, released in spring 2022, are rival machines — both Micro PCs of nearly identical size running the same CPU. In terms of sales on Kakaku.com, the HP ProDesk 405 G8 DM had been outpacing the ThinkCentre M75q Tiny Gen2, but in 2022 the ThinkCentre M75q Tiny Gen2 was plagued by severe delivery delays, which likely cast a considerable shadow over its sales figures. It should also be noted that, as of now, no HP ProDesk 405 G8 DM variant exists with the Ryzen 7 PRO 5750GE; instead, the lower end of the lineup offers the Ryzen 3 PRO 5350GE as an option, so if a lower CPU grade is acceptable, choosing a Ryzen 3 PRO 5350GE model could well be worth considering.

HP ProDesk 405 G8 DM|HP Pro Mini 400 G9Lenovo ThinkCentre M75q Tiny Gen2
USB 2.02
USB 3.2 Gen1 (USB 3.0)22
USB 3.2 Gen2 (USB 3.1)41
USB Type-C21

Where the HP ProDesk 405 G8 DM has the edge over the Lenovo ThinkCentre M75q Tiny Gen2: it offers six USB 3.2 ports, plus two USB-C ports, giving a total of eight USB connections. Display output also covers DisplayPort, HDMI, and USB Type-C (shared), supporting three video outputs as standard (the ThinkCentre M75q Tiny Gen2 has only DisplayPort and HDMI — two outputs). And owing to its quiet CPU fan, it is said to be nearly silent in operation.

Though I was thinking that both models would likely see a successor with a one-generation CPU update before long — and then, just as I was writing that, I found a notice saying the HP ProDesk 405 G8 DM was discontinued as of 10 November 2022… As of today, no AMD-based successor has yet appeared in the lineup, though the Intel-based HP Pro Mini 400 G9 has already gone on sale as the 2023 model. The exterior is unchanged from before, but this time around, the Intel-based machine is explicitly marked as Made in Tokyo.

The HP ProDesk 405 G8 DM and the Lenovo ThinkCentre M75q Tiny Gen2 — two mini PCs running the same AMD Ryzen 5 PRO 5650GE CPU with virtually identical specs. That said, I ended up choosing the ThinkCentre rather than the HP ProDesk this time around, and for the reasoning behind that I’ll point to the Chimolog article comparing these two machines. It makes for an interesting read.

In terms of overall cost-performance, it still falls short of the M75q Tiny Gen2. So it’s not an “alternative” — it’s a “compromise”. The HP ProDesk 405 cannot fill the Tiny Gen2’s shoes.

For my part, I ended up taking on board Chimolog’s verdict — “not an alternative, but a compromise” — and now that I actually have the M75q Tiny Gen2 in front of me, what I feel directly, beyond simply how smoothly and comfortably it runs, comes down to these two things:

Those would be the two. The fan noise was something I hadn’t anticipated, but monitoring the CPU and SSD temperatures shows they’re being kept remarkably cool, so it’s clear the design does prioritise cooling performance. Also, as mentioned earlier, the ThinkCentre M75q Tiny Gen2 allows you to increase the dedicated GPU memory (video memory) allocated via BIOS settings from 512MB up to 2,024MB — which is an advantage the HP ProDesk 405 G8 DM doesn’t offer. That said, personally I don’t think there’s any fundamentally significant difference between the two, and it’s entirely possible I’ll go back to an HP Hewlett-Packard machine next time I update my PC.

When Will the Successor, Lenovo ThinkCentre M75q Tiny Gen3, Arrive?

Lenovo ThinkCentre M75q Tiny Gen2 f

By the time I purchased the Lenovo ThinkCentre M75q Tiny Gen2, it had already been on sale for nearly a year, so by the time I finish writing this article it wouldn’t be surprising if a successor model had already appeared. On the HP side, the HP ProDesk 405 G8 DM was announced as discontinued in December 2022, and around the same time the Intel-based HP Pro Mini 400 G9 went on sale ahead of it. If the ThinkCentre M75q Tiny follows the same pattern this time around — a minor update as the Tiny Gen3 with only a CPU generation step-up — I’d expect the CPU to be either the Ryzen 7 PRO 7700GE / Ryzen 5 PRO 7600GE or the Ryzen 7 PRO 7750GE / Ryzen 5 PRO 7650GE. ※ This is because the Ryzen 6000 series is laptop-only and has no GE models.

That said, the Ryzen 7000 series only launched in September 2022, and at that point the lineup consisted only of flagship X-suffix models — the power-efficient GE variants did not yet exist. Given the time lag between a CPU’s release and production before it can be implemented in a system, the GE successor CPUs needed for a ThinkCentre M75q Tiny Gen2 model change simply don’t exist yet, and when in 2023 a successor might appear remains, for now, anyone’s guess.

Lenovo
¥72,820 (2023/02/24 11:31時点 | Yahooショッピング調べ)

【Performance of the Lenovo ThinkCentre M75q Tiny Gen2】
Part OneSSD Swap|Part Two

Auto Translated by CS4.6

To comment

Index